|
Maybe I'm just crazy, but I went ahead and did the AM stereo conversion on my 8-track player, even with out a schematic.
Here's the (almost) complete product... I still need to make a few minor adjustments.
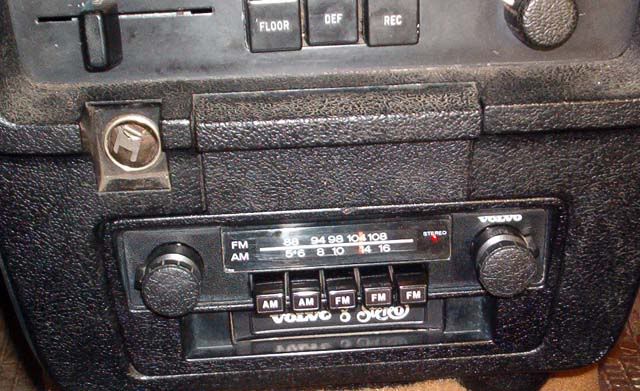
Might be kinda hard to see, but there it is, in full operation (tuned into 1450 AM, KBPS in AM Stereo). The Stereo LED is lit!
Here's how it was done.
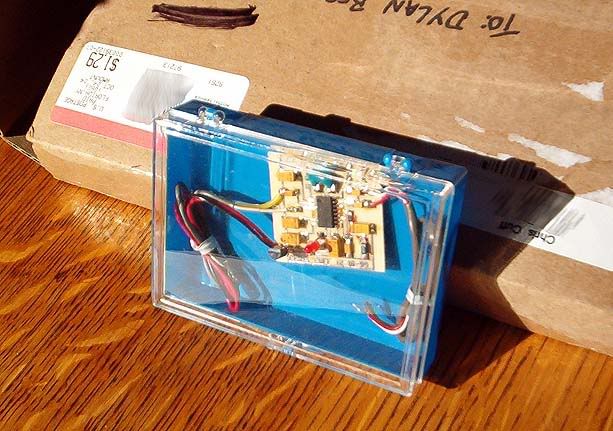
I ordered a Stereo decoder chip from Chris Cuff. He sells them for $25. Do a google search for "Chris Cuff" and you should find a website with his email address. This is the guy you get the chips from.
Here's a few pictures of the inside of the radio. I labeled where the mods were made. For ease of access, I removed the capstan of the 8-track player.
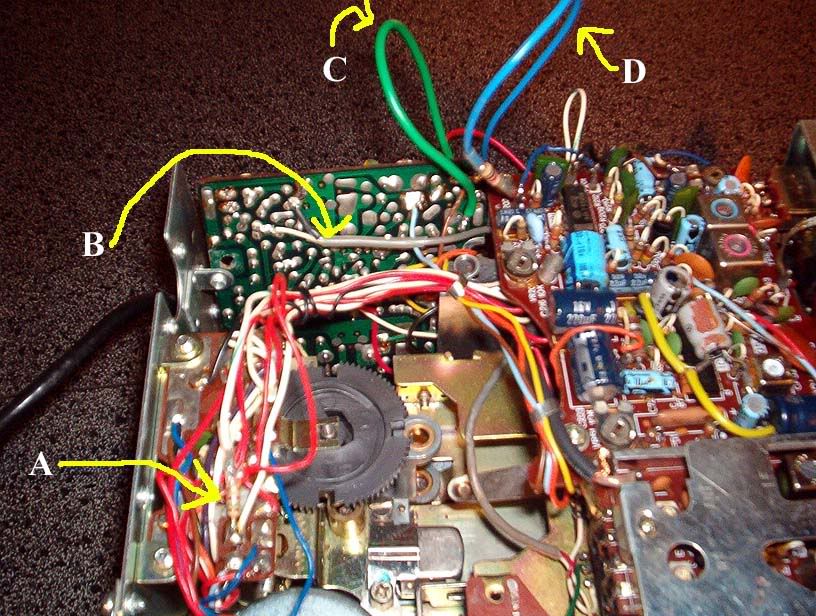
A) This is what makes the "STEREO" LED on the front of the radio come on when it's getting an AM stereo station. I wired it in series with a 10K ohm resister from the appropriate spot on the decoder chip.
B) This wire is the one that might end up moving. This is the IF tap. Basically, this is where the decoder gets the "data" from the radio. All AM radios (made since at least the 30s) have an IF stage of some kind that can be tapped. This particular radio has 3 different IF filters. Tapping the wrong one can cause the radio to not filter adjacent frequencies very well. With out a schematic, I have to test it with Trial and Error. I'll update you all if I need to move this wire. There is also a shield that is grounded (the wire with the black heat shrink around it).
C) This wire is an added ground to the AM board in the radio. The way it was set up was kinda stupid. It was grounded only by the screws that held the board to the chassis. Unfortunately, I needed to be able to have the AM radio powered while the screws were disconnected, so I added this green wire as an additional ground. The other end attaches to a spot on the chassis of the radio. The AM stereo decoder grounds at the same place this green wire does (not shown in this picture).
D) This blue wire is the "Force to mono" function. Since there is a Mono/Stereo selector for the FM radio, I figured I should wire it in to work with the AM radio as well. This turned out to be a bit tricky:
The FM force mono worked by grounding one end of a circuit on the FM radio board. In order to force the AM stereo decoder into mono, it required me to ground a particular pin (Pin 10) on the decoder board through a 1K ohm resister. So, I decided to connect Pin 10 of the decoder to the point on the FM radio that gets grounded when the switch is set to Mono. This is where it got a bit difficult.
After I soldered the Mono connector in place, the radio was suddenly acting strange. FM stereo was no longer working, and neither was AM stereo. I unsoldered the connection I had just made, and everything was back to normal.
I solved this problem by adding a diode between the 1K ohm resister and the point on the FM radio I had tapped. Everything worked as it was suppose to after this.
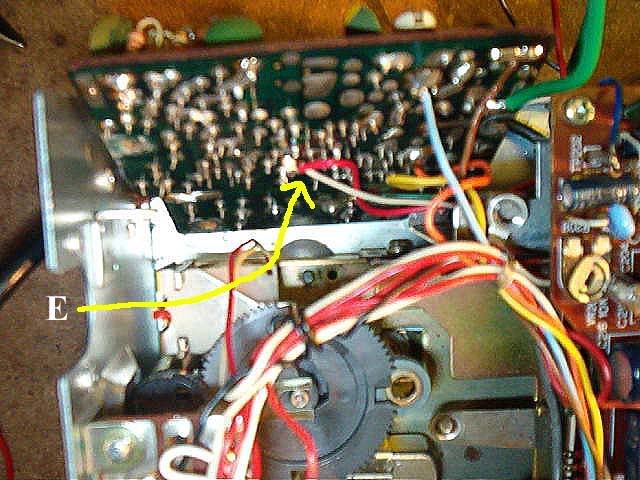
E) The white wire is the one that powers the AM radio board inside the radio. This is also where I tapped the power needed to power the AM stereo decoder. This works out well because it will turn off the decoder when the AM radio is not in use (when the FM radio is being used.) This prevents any interference from the Decoder causing problems with the FM radio. This wire had about 8 volts on it (when hot), which was enough for the decoder.
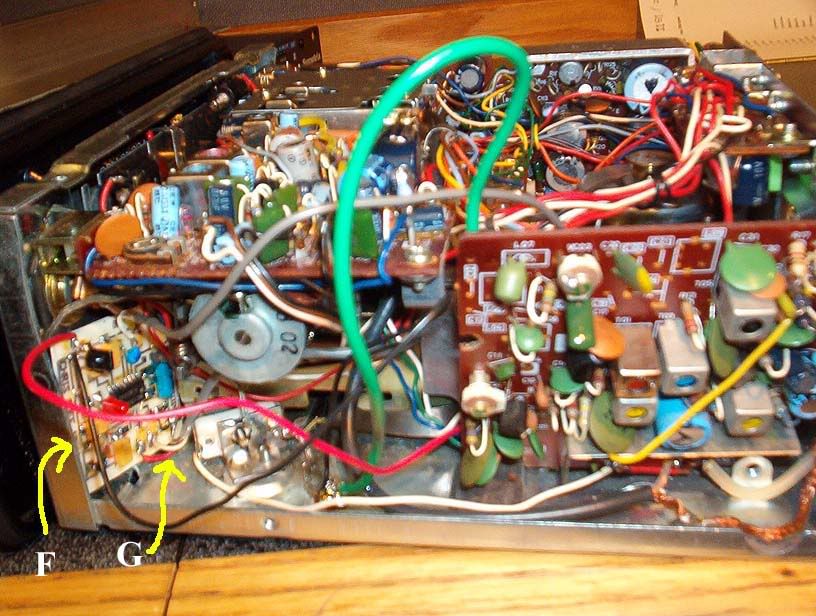
F) This is where I decided to mount the Decoder chip. The place was perfect. The chip just cleared the trimmer adjuster, and it didn't cause any problems with the tuning mechanism. (Please note, this picture was taken before I added the wires for the external Stereo indicator LED, and the force mono switch.)
G) The radio already had separate left and right wires connected to the AM board prior to my modification, which made the process 1000 times easier. (Usually the hardest part of converting a radio to AM stereo is finding the right place to separate the left and right channels in the radio. Lucky for me, Volvo already did it for me!) As you can see, I simply rerouted the original audio cable (grey, with red and white wires coming out of it) from the AM board to the Stereo decoder output.
This radio was actually really easy to convert. As it stands now, I'm probably going to do a few more mods... I can post about those too if anyone is interested.
If anyone is interested in doing a similar conversion, feel free to contact me via email, as there are a few details I left out here that you would probably want to know about.
Any one want to tell me just how insane I really am? heh heh heh...
--
If you listen to the radio in Portland, OR, you may know me as "Portland's Favorite Soul Brother!"
|
