|
|
Help!!!!!!!!!!
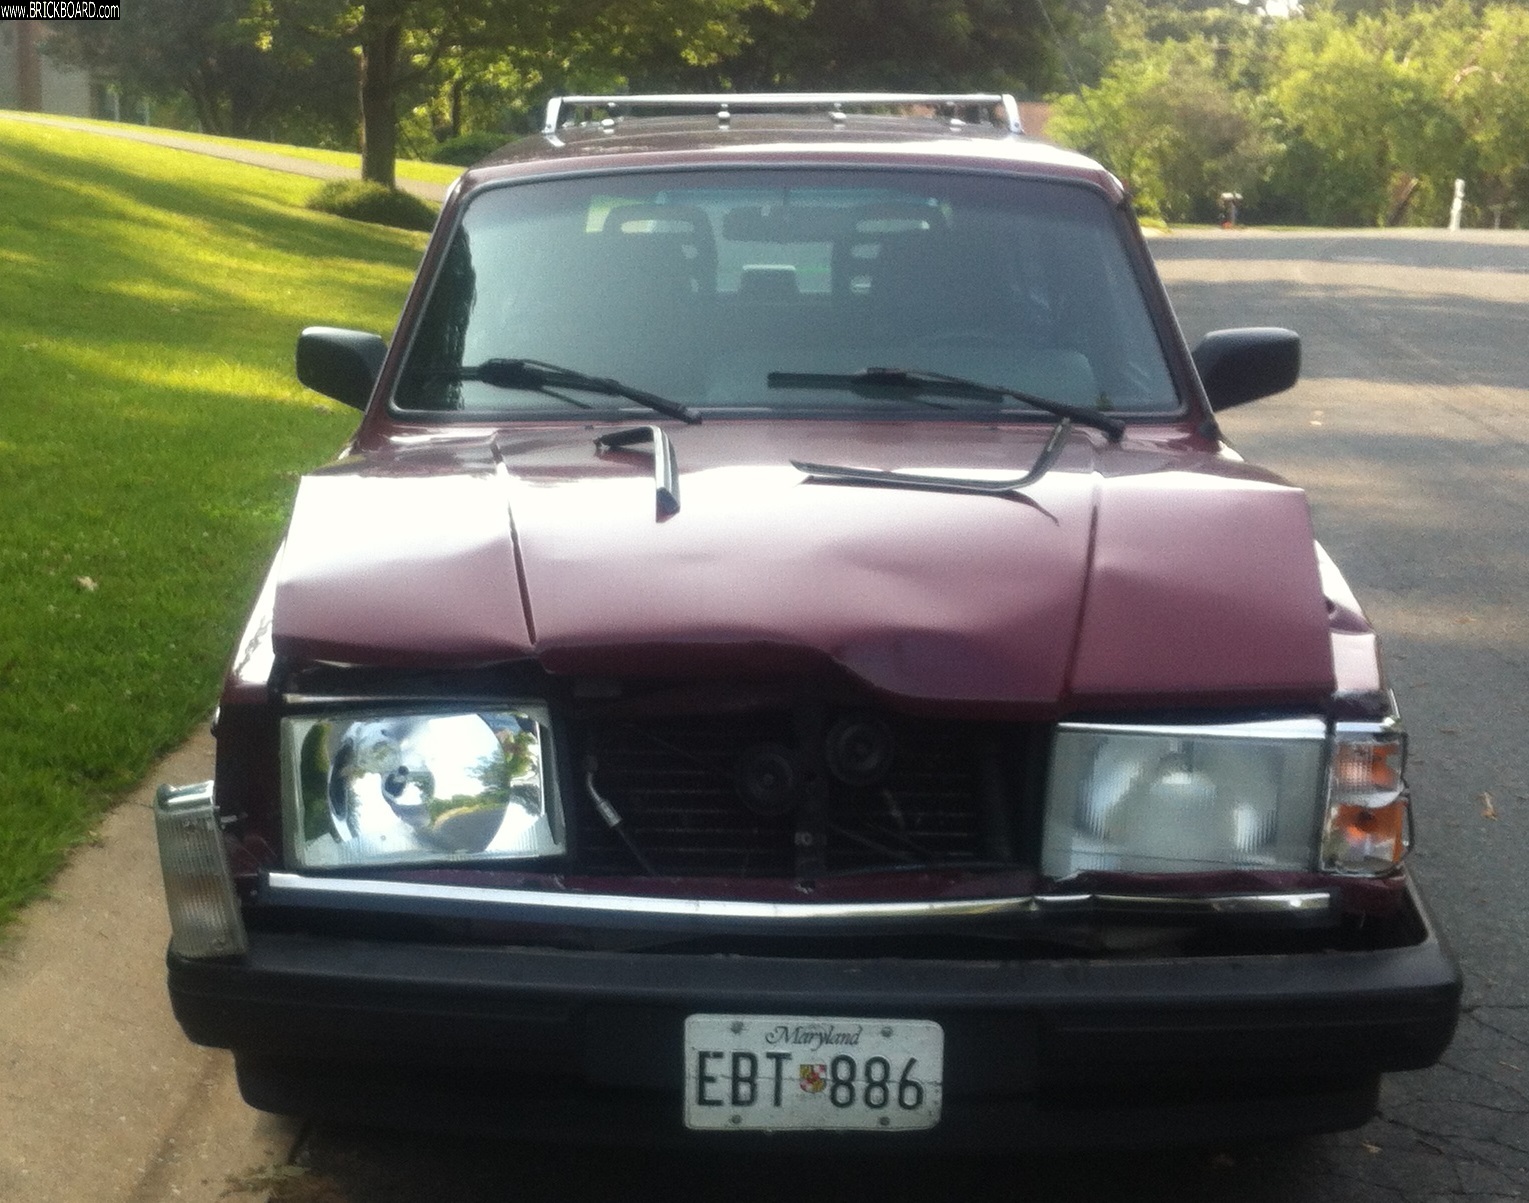
So I Replaced the rear differential seal now for the second time.
I even went to so far as to buy Hylomar Universal Blue and put it on both sides of the seal before installing it back on.
I also waited a day before putting gear oil back into it.
What I did notice this time is that of all the bolts, one of them was slightly longer than the others, so I placed it dead nuts at the top of the differential where the brakes are attached as I figured those spacers would make up the difference.
I drove today and its still leaking roughly from the same location. I'll know more tonight once I jack it up, but I'm stumped.
Anyone have any words of wisdom that I'm missing here???
I'm thoroughly disgusted at the moment! This is not Rocket Science, and I know how to put a projectile in orbit!
Thanks in advance,
Matt
|
|
-
|
|
|
Finally!
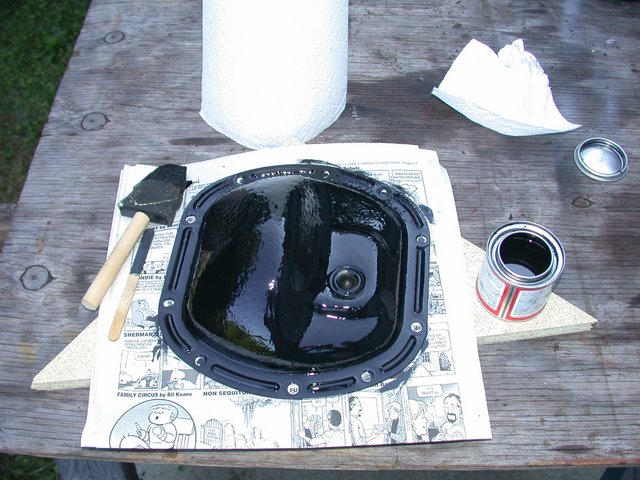
After much gnashing of teeth and two failed attempts because I was chasing the wrong issue, I finally have a rear differential cover that does not leak!
Yay me and all those that gave advice.
As an aside, I hate pin hole leaks and the smell of differential fluid in my garage.
|
|
-
|
|
|
...I only used Permatex red last time I took off the diff cover, and not leak one do I have,
|
|
-
|
|
|
Looking at the photos--I can assure you nel621 is correct--there's a pinhole leak. I've come across this a number of times. It's time to pay a visit to the scrap yard. On earlier cars you can fit any 140/240 rear cover since the speedo pickup isn't an issue./ JCWhitney sells a chromed one for jeeps that will fit the earlier cars. Two of my cars-a 144 and a 245 have received aluminum covers. -- Dave
|
|
-
posted by
someone claiming to be CB
on
Tue Aug 25 20:44 CST 2015 [ RELATED]
|
|
yes agree. the leak is thru the metal. Pinholes. as soon as I saw the Pix of all that rust.
|
|
-
|
|
|
Interesting!
Well I guess the PNP this weekend it is!
|
|
-
posted by
someone claiming to be CB
on
Wed Aug 26 22:10 CST 2015 [ RELATED]
|
|
take a wire brush on a drill to the outside rust
how many holes do you see.
you can solder the holes
there is no heat against that cover what would melt basic plumbing solder.
just clean off all the 90WT from the surrounding. burn it off with a propane tourch. scrub with Brillo pad.
depends on how much you like to crawl around the PIP.
then paint etc....
|
|
-
|
|
|
If it is a pinhole leak, you should be able to see it on the inside of the cover. You may then be able to patch it with an epoxy putty.
On the other hand, I do like your proposal of putting a brick in orbit Ie, "I'm thoroughly disgusted at the moment! This is not Rocket Science, and I know how to put a projectile in orbit!" Or is that just a Ralph Kramden threat.
--
1980 245 Canadian B21A with SU carb, M46 trans, 3:31 dif, in Brampton, Ont.
|
|
-
|
|
|
LOL!!!!
What I meant by the comment is that while getting my Masters Degree, part of the program was learning about orbital mechanics, so I do know what it takes to put an object in orbit and to keep it there!
Was not thinking about putting the Brick into orbit, but seeing that I currently have two 245's sitting in my garage in various stages of dis-assembly my wife might put one or both of them into orbit soon if I don't get them out of the garage!
I'm gonna try to hit the PNP this weekend if I can't find the pin hole leak and or can't fix this thing.
Later,
Matt
|
|
-
|
|
|
Take the cover off and get it real clean, inside and out.Then in dark room hold a flashlight behind it and look for the light. This should confirm the pin hole. Not sure if JBWELD holds up to the gear oil, may have to do some detective work on that. Or have it brazed, welded, whatever the welder recommends. Keep in mind if the area where the hole is is weak you will get another pin hole later on.
|
|
-
|
|
|
Here's how I'd do it if I wanted to save money, just for one idea:
1: Remove the sensor
2. Degrease
3. Wire brush the rust
4. Soak in muriatic acid (or Naval jelly other rust remover)
5. Smear in plumber's flux
6. Solder with a propane torch
7. Paint
Even typical plumbing solder will hold up. If this sounds like a hack to you, remember that the "lead sleds" of hot-rod days past were patched in much the same way (I filled the holes in my roof rack with lead solder).
Brazing would work too. Welding is so much overkill for the problem . . .
|
|
-
|
|
|
Should have said: boil anything soldered with plumbers acid flux to remove the flux
|
|
-
-
|
|
|
first thing I checked. Its clear!
|
|
-

|
|
Hi Matt,
I enjoyed your rant. Especially the Rocket Science part, and no, I did not work for Thiokol back then. Did you??
The title is changed in my response only because I pondered the pinion seal and the various ways that job could fail for some time before making the leap to understand you are talking about the cover gasket.
I have two 1991 sedans here. The one with ABS has an aluminum cover. I'm not certain, but I think the other one has a steel cover. Which do you have?
Maybe we could help, but certainly need more information about exactly where the leak is occurring, and I'm sure you know that too, and are preparing to get some light and maybe even a camera on it, so you can move forward from this disappointment.
--
Art Benstein near Baltimore
Why isn't there mouse-flavored cat food?
|
|
-
|
|
|
Art,
So nice to hear from you here.
I'm going to try today to get pictures of this thing and then post them later today. I'm pretty sure that its steel. It is a wagon.
Now I've done this once already on my 89' wagon. I did the gasket dry and have had zero issues with it. Now mind you the axle was out of the car at the time, but still I have had zero leaks and that was two years ago that I performed that repair.
So as soon as I can I'll post these in an effort to put this behind me.
Later,
Matt
|
|
-
|
|
|
Matt, I am guessing you will find the reason for the leak when you take it apart next. I did read your previous thread on the subject and wondered whether you had ruled out the deformation possibility around the edge of the thin steel cover. Assume you did, given the lengths you went to buying Hylomar product and just putting up with that terrible smell down there.
Maybe you saw my article : http://cleanflametrap.com/pumpkin.html
I did not need to find a ball-pein (ball-peen) hammer to fix the cover before re-installing, but was conscious of the ease with which these 5/16" bolts could be over-tightened (I think yours would have M8) and so used a 1/4" drive ratchet to install.
Good to know you are aware of the potential for LSD. No, in this case, I don't mean Limited Slip Differential, nor any eye-widening chemical enhancement, but Long Screw Damage. I just learned this term now has its acronym because it is a common result of DIY repairs of modern miniature electronics, where the fixer is not careful to put the screws back where he found them. LSD. Who'da thunk it.
That long screw at the top is not fully threaded, so if it were to be used in a position without that clamp and washer, might not exert any clamping force on the cover plate.
Anyhow, long and short of it is you'll be under the wagon again. Best of luck and know your virtual friends are there with you.
--
Art Benstein near Baltimore
Why didn't Noah swat those two mosquitoes?
|
|
-
|
|
|
Art,
So here's a question for you.
If I do indeed have a pin hole leak, what are my courses of action??
PNP, weld, paint it with POR15?
Thoughts?
Thanks,
Matt
|
|
-
|
|
|
Matt, I think you are asking what I would do.
When I looked for a cover, I made it through 2 yards without finding a clean or convenient one. I had it a bit easier, too, because the 79 doesn't have the speed sender. I was just looking for a 10-bolt Dana cover that wasn't rusty and could be reached without calling out the heavy equipment. A half-hearted effort, I admit.
The paint-over-rust has saved a few other sheet metal items for me; a 35-year old clothes washer tub, a set of 240 brake stone shields. I think it yielded a more pleasant afternoon than pulling a cover in the yard, but I would have if I had found one.
When mine starts leaking again, I'll be looking for a replacement. Same with the old Maytag.
--
Art Benstein near Baltimore
"I have to use an 18 to 24 inch *1/2 inch drive extension* powering a flex-socket
-this is ONE INSTANCE where a "snap together chain" of universals and sockets
WILL NOT WORK you need to get ALL OF THE TORQUE you can into the bolt
and NOT 'soaked up by the chain of floppies'...drive THAT with an 18" cheater and
throw down on the friggin bolt...be CAREFUL...it will be 'tighter 'n crabs ass'
until just before it lets go - at which point it will *POP* and come loose carving
deep blue ripples in the tissues of your mind...Uh OH...flashback...." - TrickMick
|
|
-
-
|
|
|
Hi,
Maybe you have put the sealant right but from the photos excess can be seen on the outside. As additional tip, the sealant should be put on the "inner" side of the bolt holes like in the video below. Fast-forward it to 4.50 minute.
See:
https://www.youtube.com/watch?v=TSljGYBc1nY
Regards,
Amarin.
|
|
-
|
|
|
You may have a pin hole in the rusty area. A new gasket is in your future. Are the edges where there is rust just as bad on the back side?
|
|
-
|
|
|
So I took the cover off yet again.
Much to my surprise on the inside you can see exactly where the pin hole leak is.
I've done for the day, but I've got to get this thing all cleaned up and then I'll take some pictures. Then its time clean up all the rusted area's, sweat the pin hole leak with some solder and/or JB weld, haven't decided yet, then its time finally seal it up wit POR15.
Might be a week before I get this all done, but at least I now know that I was doing the job correctly and was not loosing my mind like I almost thought I was.
Anyways, pictures will be forth coming. Thanks for everyone's input on this.
Later,
Matt
|
|
-
|
|
|
back side edges are pristine.
|
|
-
|
|
|
I see the pics alright. What I see is the leaky area seems to surround the top bolt and the one just to the left, where the speed sender wiring is supported. Maybe the oil is following the bolt threads, but it is hard to tell from the pics. You'll have to pull it apart again.
--
Art Benstein near Baltimore
Why is it that doctors call what they do 'practice'?
|
|
-
|
|
|
Since you aren't here, the oil is only really coming from the speed sensor support area.
I know I have to pull it apart again, not sure what to do at this time.
The inside is pristine.
I'm actually thinking of xraying the dang thing to see if I'm missing something in that particular area.
ugh!
|
|
|
|
|


